Page 13 of 16
Posted: Feb 28, 2013 12:34 PM
by Corner Carver
Posted: Mar 21, 2013 1:06 AM
by Murfinator
Posted: Mar 21, 2013 9:48 AM
by skip535i
PRETTTTY!
Posted: Mar 22, 2013 12:37 AM
by Murfinator
Posted: Mar 22, 2013 8:23 AM
by Nebraska_e28
I've been entertaining the thought of switching to a>a. I'll be curious to see what your IAT is under boost with this setup. Are you going to squeeze a/c in there somehow for those hot Cali summers, or is that getting axed in favor of a performance based car?
Posted: Mar 22, 2013 3:20 PM
by Murfinator
Nebraska_e28 wrote:I've been entertaining the thought of switching to a>a. I'll be curious to see what your IAT is under boost with this setup. Are you going to squeeze a/c in there somehow for those hot Cali summers, or is that getting axed in favor of a performance based car?
I decided in favor for several reasons:
1. More condensed and simple packaging
2. Better for 'touring' style of driving
3. Given aforementioned calculations for flow and charge air cooling efficiency the air-to-air will provide sufficient cooling
I'll be datalogging IAT among dozens of other variables.
The A/C compressor was rattling when the car went on jacks 2.5 years ago. Since I rarely used A/C (prefer to roll down the windows) I doubt I'll go through the trouble of re-installing the system. Some of the lines will remain in place, but capped. The compressor, evap canister and condenser have been removed to make room for piping and improve airflow across the intercooler and radiator.
More importantly, with my wife having totalled her Audi TT we've upgraded to an Imola on Imola Red E46 M3 convertible with low miles and tastefully improved by its one owner. The only time I ever turned on the A/C before was when she was accompanying me. The average temperature may be a bit lower where we are living now compared to coastal California as evidenced by the white stuff on the ground.

Posted: Apr 19, 2013 11:58 AM
by Murfinator
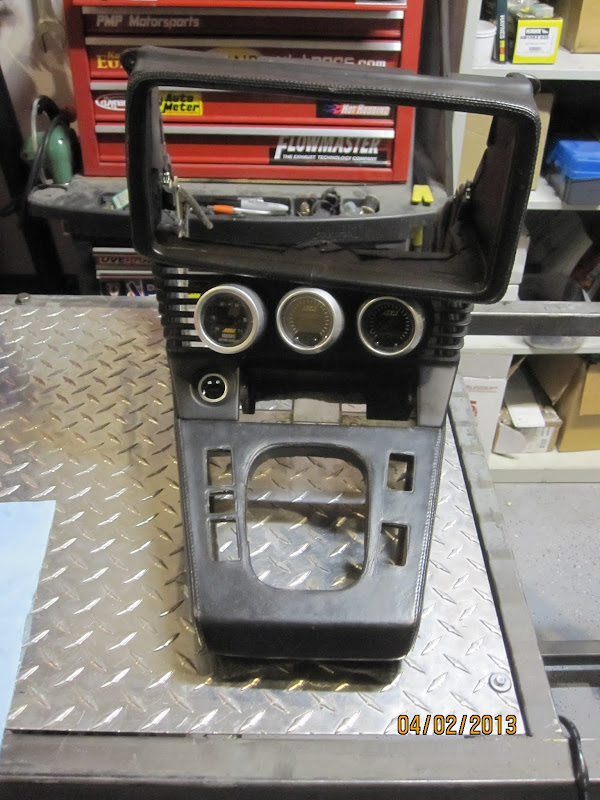
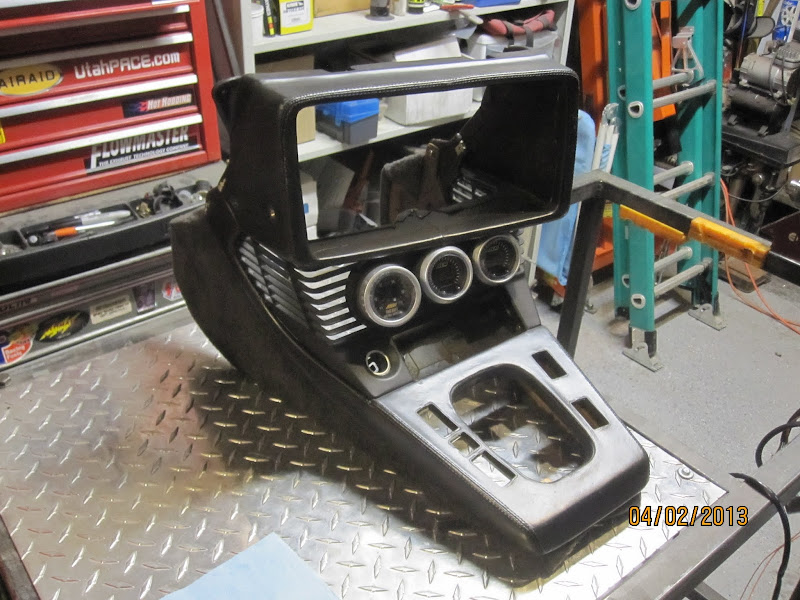
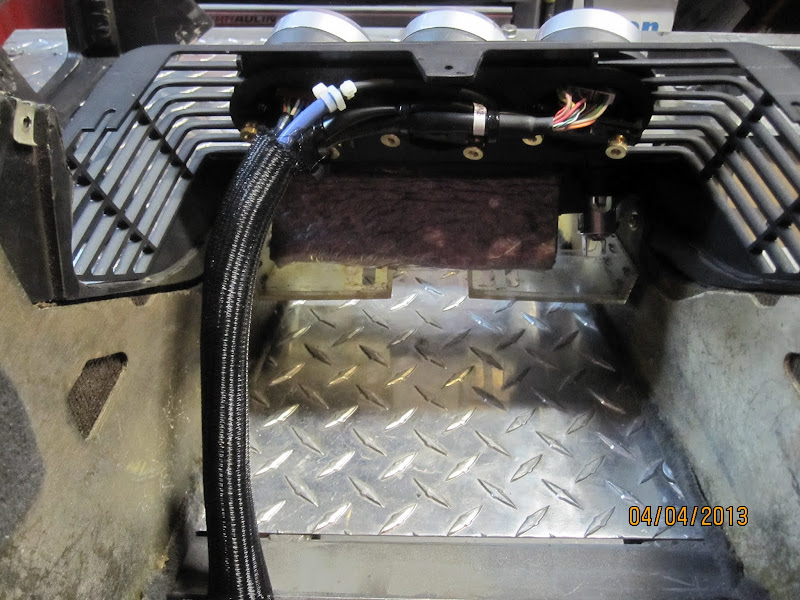
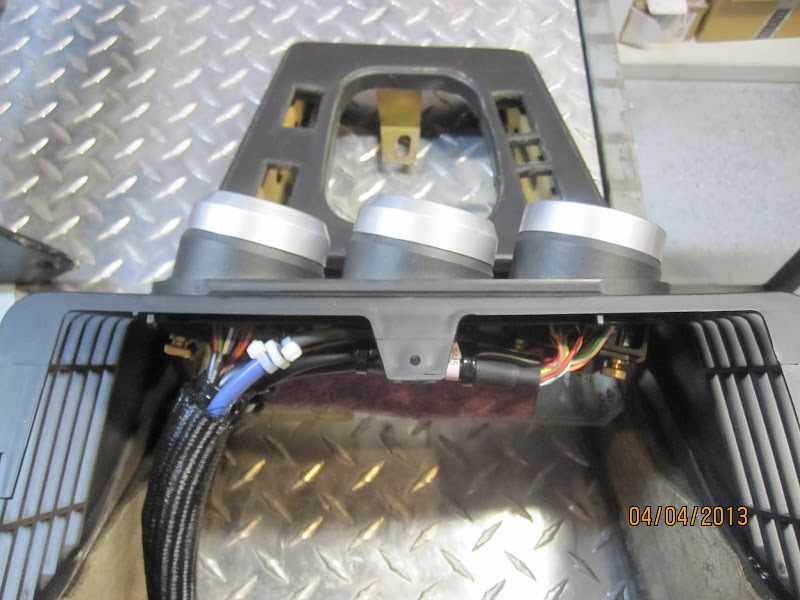
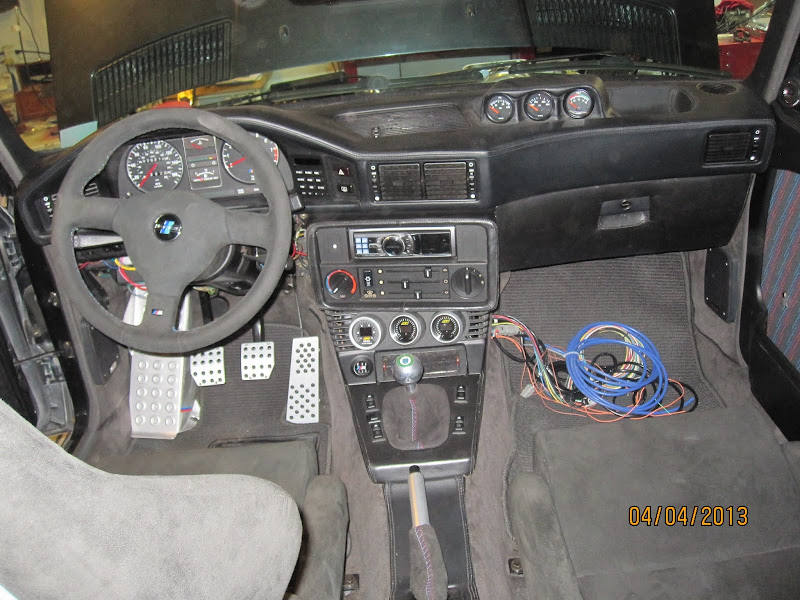
Gauge panel completed. In the panel from left to right are:
AEM Wideband Failsafe (
http://www.aemelectronics.com/wideband- ... -gauge-84/) Universal Exhaust Gas Oxygen (UEGO—“you-way-go”) controller with an internal boost sensor, an internal data logger and a full color Organic Light Emitting Diode (OLED) display. It includes technology to activate a failsafe strategy in the event AFR falls outside of a user-defined operating window. If the AFR falls outside of the set operating window, the Wideband FAILSAFE Gauge triggers a user defined output function that can save an engine from catastrophic damage.
In the center and right position are
AEM digital serial gauges: "AEM’s Serial Gauge plugs into the company’s Programmable Series 1 and Series 2 EMS and has the ability to read 19 channels simultaneously to provide reference for all outputs, including boost, AFR, EGT, H2O, IAT, knock, volts, RPM, vehicle speed, and more! Since it can read all channels at once, AEM’s Serial Gauge eliminates the need to buy a cluster of gauges, or you can link multiple Serial Gauges together to monitor additional channels or to divide your readouts across a few gauges." (
http://www.aemelectronics.com/gauges-26 ... -gauge-33/)
Those of you who have been following this build will recall I purchased the pre-cut plastic panels from Shawn D. several years ago as well as a new grill shell. I was waiting to determine which EMS to use prior to purchasing gauges. With a local AEM-certified shop and chassis dyno specializing in forced induction on imports the choice became that much easier.


[/url]
Posted: May 26, 2013 11:41 PM
by Murfinator
Update: In the past month or so there has been a good deal of progress...
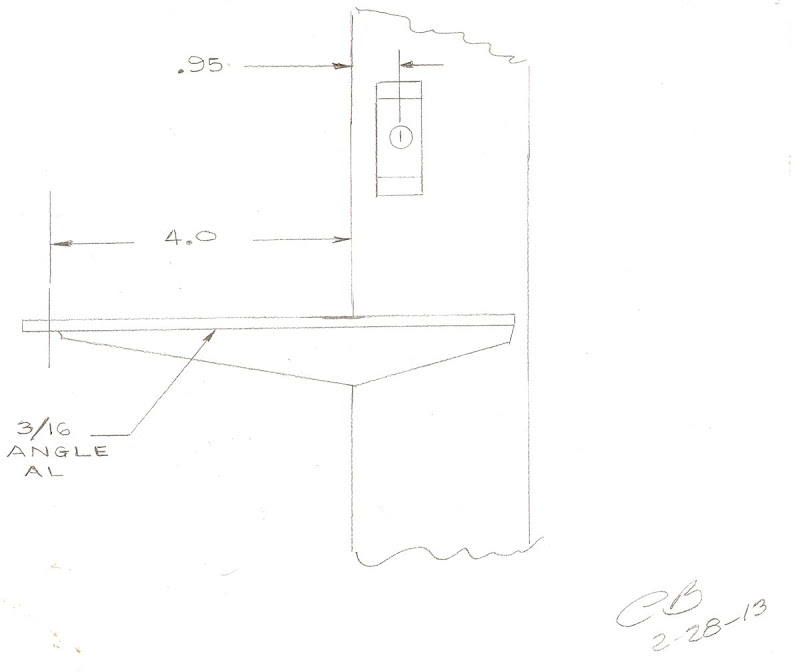
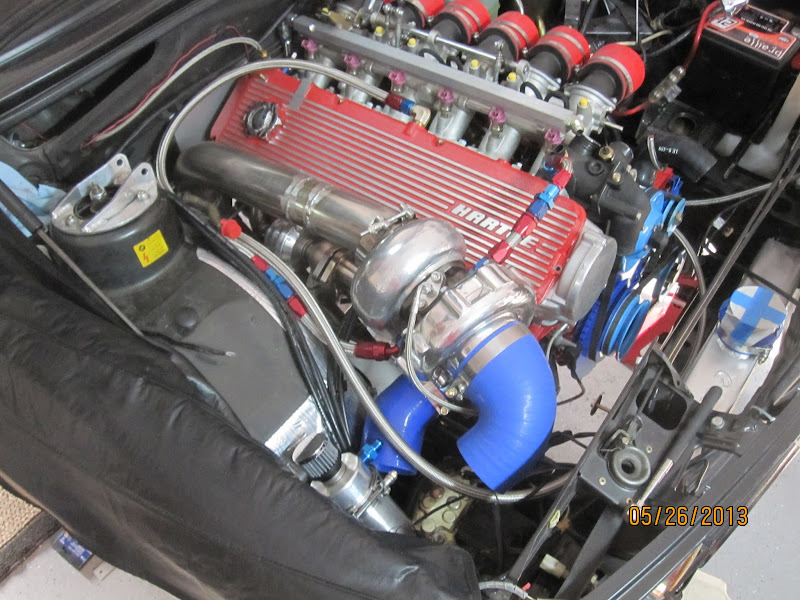
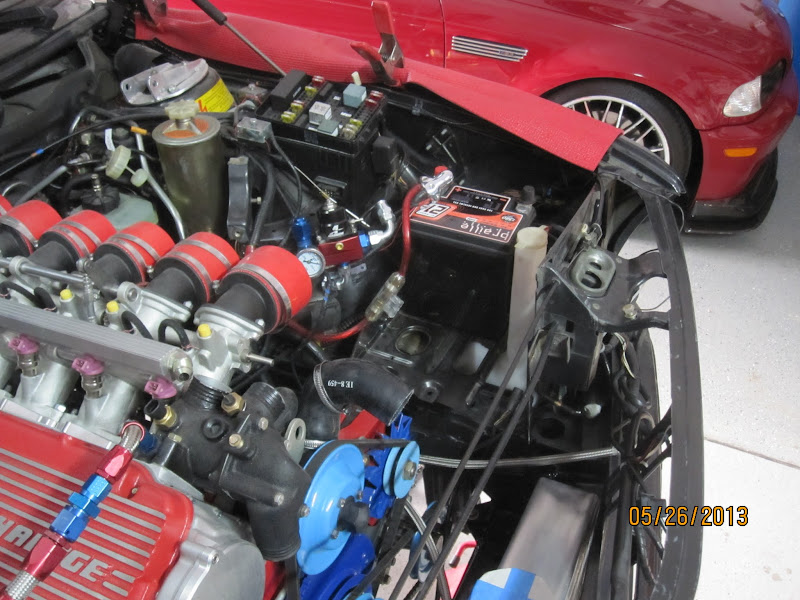
BEGi intercooler installed: I channeled the radiator support, fabricated and welded mounting tabs for the bottom supports. On the top sides I reinforced the existing metal and opened up the holes to accept spring-loaded mounting pins. The two tabs on either side of the core now slide into grooves in the reinforced areas of the radiator support. The pins hold the intercooler secure and allow easy R&R. The bottom mounts have rubber bushings to allow some for limited movement, making it much easier to align the pins at the top. The top mounts don't photograph well with the intercooler in place. The bottom mounts are visible at the bottom of the second pic.


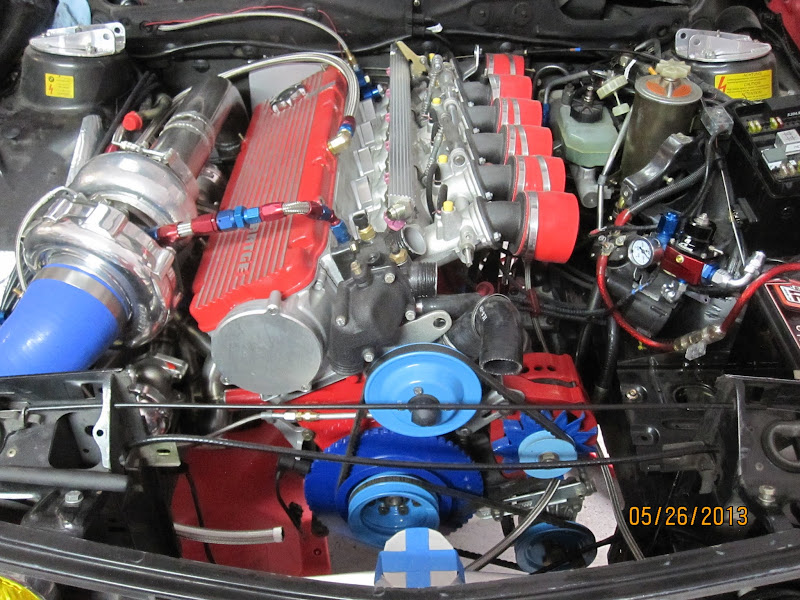
The turbo has been plumbed for water and oil. Oil feed is from the OE 745 filter head and pipe which has been modified with a JIC fitting and stainless braided hose and 90 degree fitting to the center housing. Drain is a -10AN to the oil pan.
Water input is from the coolant drain at the rear of the block and output is to the t-stat housing. Adapters were required to go from -6 to -8AN.
The need for a potentiometer type TPS due to the AEM EMS and the requirement for one of a much smaller form factor has had me scratching my head for months. The other night I was working on the E46 and decided to remove the TPS and check fitment on the B36 throttles. The bolt spacing is much closer. Yet, when I removed the flange the mounting holes on the E46 TPS and those on the throttle assembly align perfectly. To make it work will require 8mm spacers and removal of a bit of material off the the throttle shaft. Problem solved.

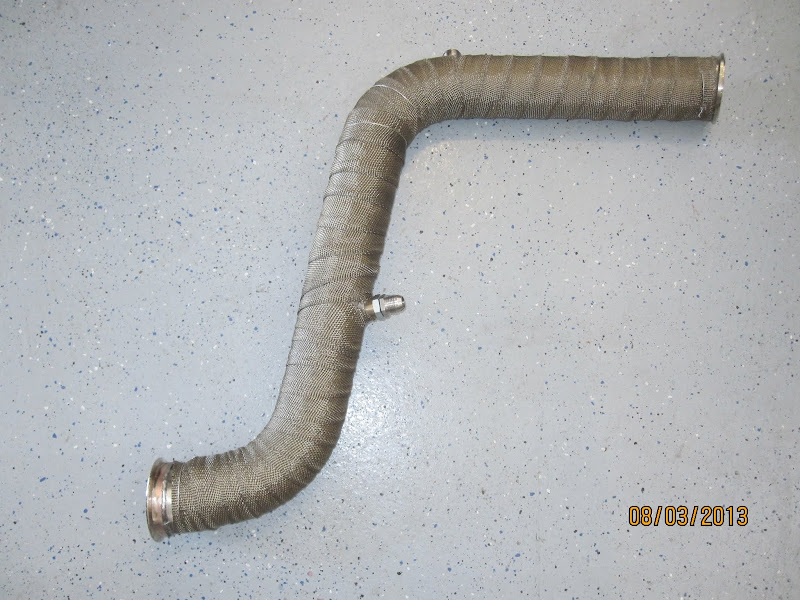
The downpipe was fabricated with 3" stainless. I used one 180, one 45 and a few feet of straight pipe. There is a v-band at the top and bottom with a flex fitting connection to the track pipe.
Still figuring out the packaging on the FPR and battery. Had to downsize the battery to fit the charge pipe from the intercooler to the plenum. The washer tank had to be moved to make room for the catch can, coil packs and intake.
Who say's 275's don't fit an E28?
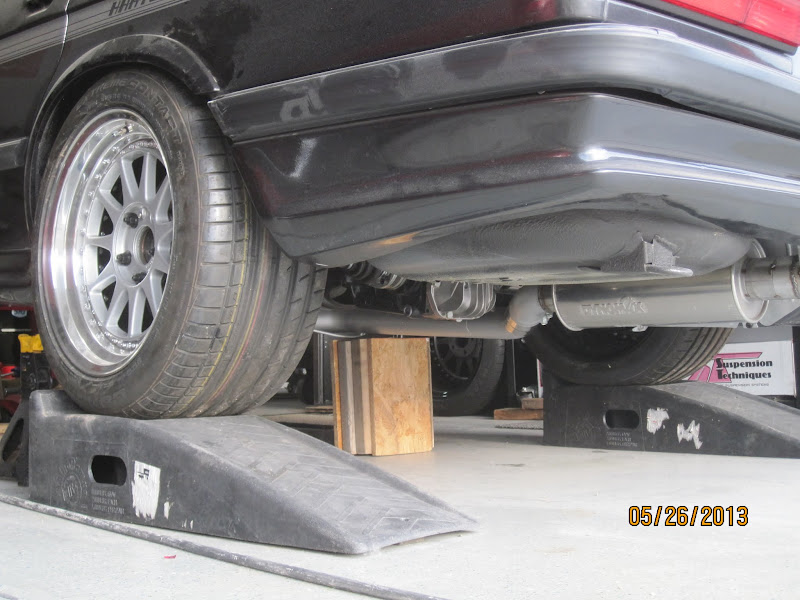


'Fit' is subjective. Using a fender roller and spacers allows running the wide meats. I'll need the added traction.
Got the fuel pump controller mounted. The rear plate covers the fuel pump while the OE forward pump the sender and return. Had to fabricate the rear cover to rise 1.5" to clear the full-flow 90 degree fitting from the fuel pump. The tank was lowered almost 2".
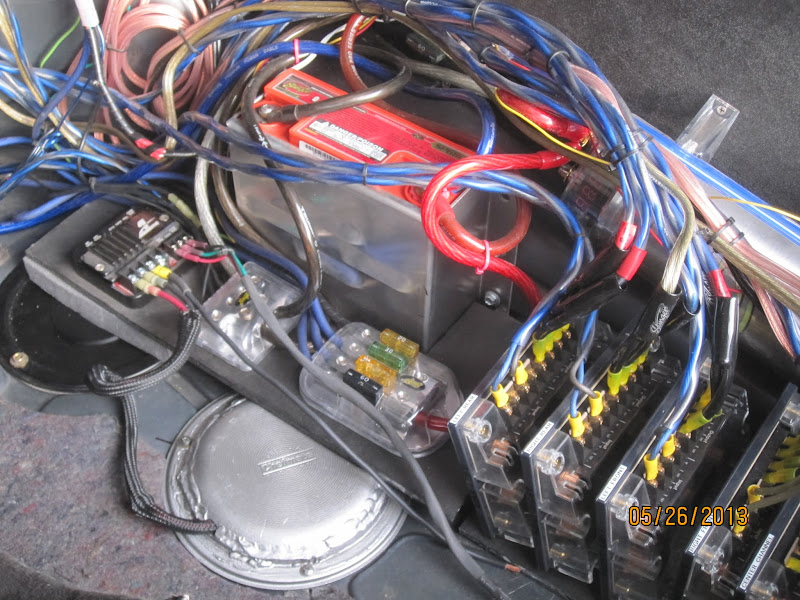
All the other wiring in the pics feeds:

Studs and spacers: 5mm front, 10mm rear from Turner Motorsports.

Posted: May 27, 2013 10:11 PM
by L_N_Love
2 1/2 years. I hope you are getting close to driving that beast.
Posted: May 27, 2013 11:29 PM
by Murfinator
L_N_Love wrote:2 1/2 years. I hope you are getting close to driving that beast.
I'm not in a hurry. I've put in an average of 4-8 hours per week on this project. The positive in taking your time is being able to consider each aspect of the build and find/design/build components that work more effectively as a system and bouncing ideas off those who have gone before. Back when I use to waste time watching television I'd be amused by the antics sensationalized on various automotive build shows (e.g. Overhaulin, Boyd Coddington, West Coast Customs, etc...) where a shop with a huge budget and dozens of skilled hands is forced to cut corners and slop together a build in an effort to make a ridiculous deadline.
The 'conventional wisdom' of throwing one of a handful of turbos on a log manifold, adding bigger injectors (maybe) and butt-dynoing an MS tune on the street is definitely not the type of build I had in mind 3 years ago. Overall I'm pleased with the pace and state of the project. With my work schedule I don't expect to fire the motor till October/November.
Posted: May 29, 2013 11:55 PM
by Murfinator
Posted: May 30, 2013 10:58 AM
by shocka
Nice work Murf, i wonder how the urethane will cope with the heat, i imagine pretty well with the nice long rod to cool before it reaches the bushing. Totally agree about taking your time and thinking your way through each aspect of the build, no need to rush at all. Soooooo clean, keep up the progress

Posted: Jun 02, 2013 8:44 PM
by Murfinator
Posted: Jun 27, 2013 12:13 AM
by Murfinator
Posted: Jun 27, 2013 12:38 AM
by tig
Speechless.
Posted: Jun 27, 2013 2:31 AM
by wkohler
That's a pretty complicated piece of kit there.
Posted: Jun 27, 2013 3:17 PM
by fastcrs
That's a lot of art happening there...

Posted: Jun 29, 2013 7:26 AM
by Good & Tight
That's a great looking manifold..!!!!
Posted: Jun 29, 2013 5:42 PM
by Nebraska_e28
If that manifold was produced for sale, I wonder how many would be hard care enough to purchase.

Posted: Jun 29, 2013 9:15 PM
by Coldswede

This build and it's pictorial documentation has long ago transcended a mere "Build" into a an art form!

Posted: Jun 30, 2013 12:26 AM
by Black Steel
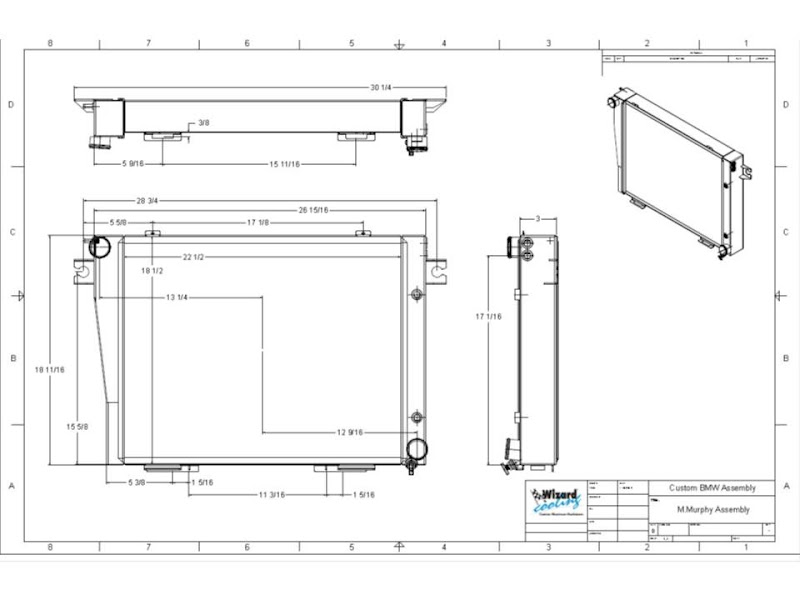
How thick is that radiator Murf? Looks a lot thicker than a standard M535i rad. Is it because one of the rows is for the oil cooling?
Wizards website states one row of 1.5" tubes.
https://wizardcooling.com/products/338- ... iator.aspx
Posted: Jul 01, 2013 5:22 PM
by Murfinator
The radiator is a dual core with 3" end tanks and integrated oil cooler (-10AN fittings on passenger side). Even with the oil cooler the capacity is ~50% greater than OE.
Also, no plastic end tanks.
Posted: Jul 01, 2013 5:47 PM
by Black Steel
Thanks for the reply. So they made the radiator especially for you then?
It's twice as thick as a standard M535i radiator.
Radiator design is a bit of a black art.
HP/Minute = 42.44 BTU.
My five core is fine for 1200bhp turbo race cars but it's not good for normal fast road driving. It over cools at speeds over 55mph. When I really use the performance over a 15 minute period that mimics track driving with speeds no higher than 100mph with regular hard acceleration it acts like a normal radiator!
Looking at your new radiator it's going to work quite well as a fast road car radiator If your going race it for any length of time (20 plus minutes) you might run into trouble.
Posted: Jul 03, 2013 12:57 PM
by Eta power
That manifold is very, very well done. Much like the rest of this build.
Posted: Aug 11, 2013 7:16 PM
by Murfinator
Downpipe complete: 3", v-band, 304 stainless steel, wide-band and e-vac flanges.

